.png?v=1667978305)
As awesome as they are, there are a few potential issues which can make taking dermoscopy images difficult with an iPhone. So if you have an iPhone and have experienced any difficulty, please take a moment to read through these tips.
First – Determine Which Lens You’ll Be Using
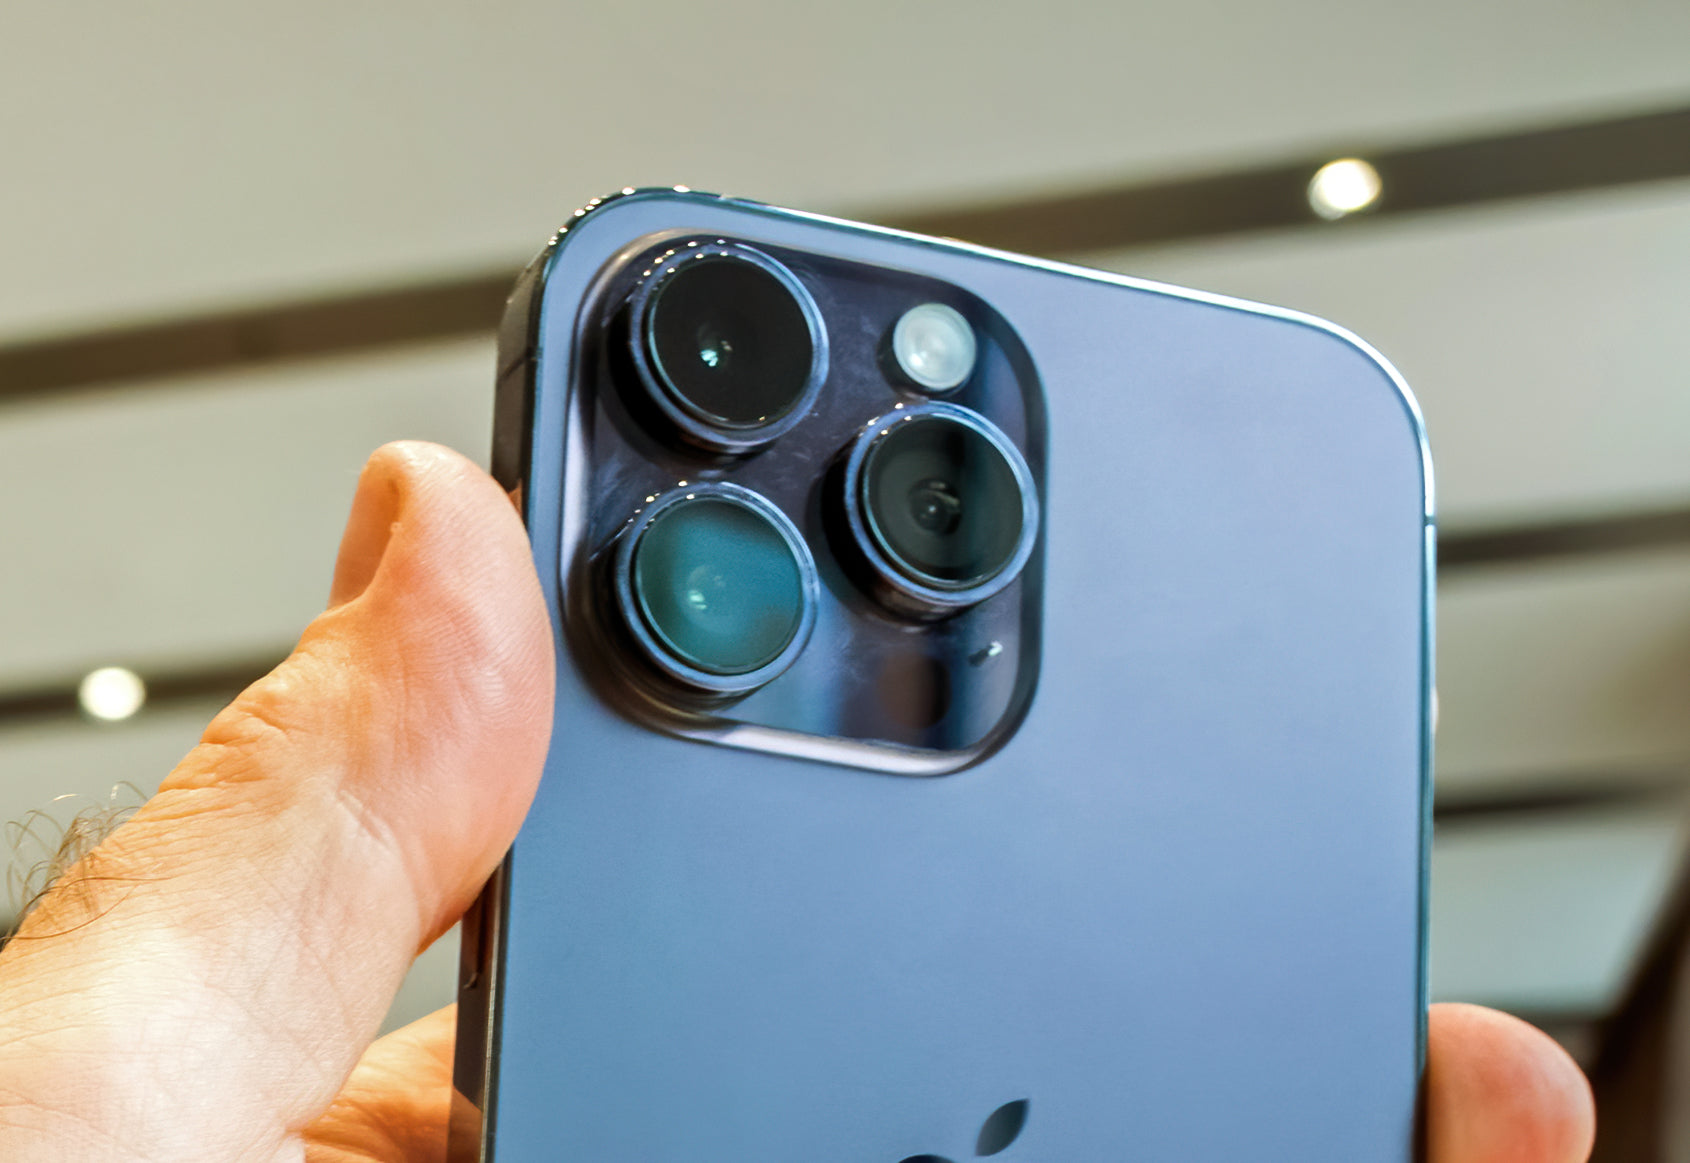
All iPhones now include multiple camera lenses, with each lens serving a specific purpose – from capturing distant wide-angle shots to focusing in on very close objects.
To identify the lens you’ll need, hold a finger close to your camera at about the same distance you typically take dermoscopy photos.
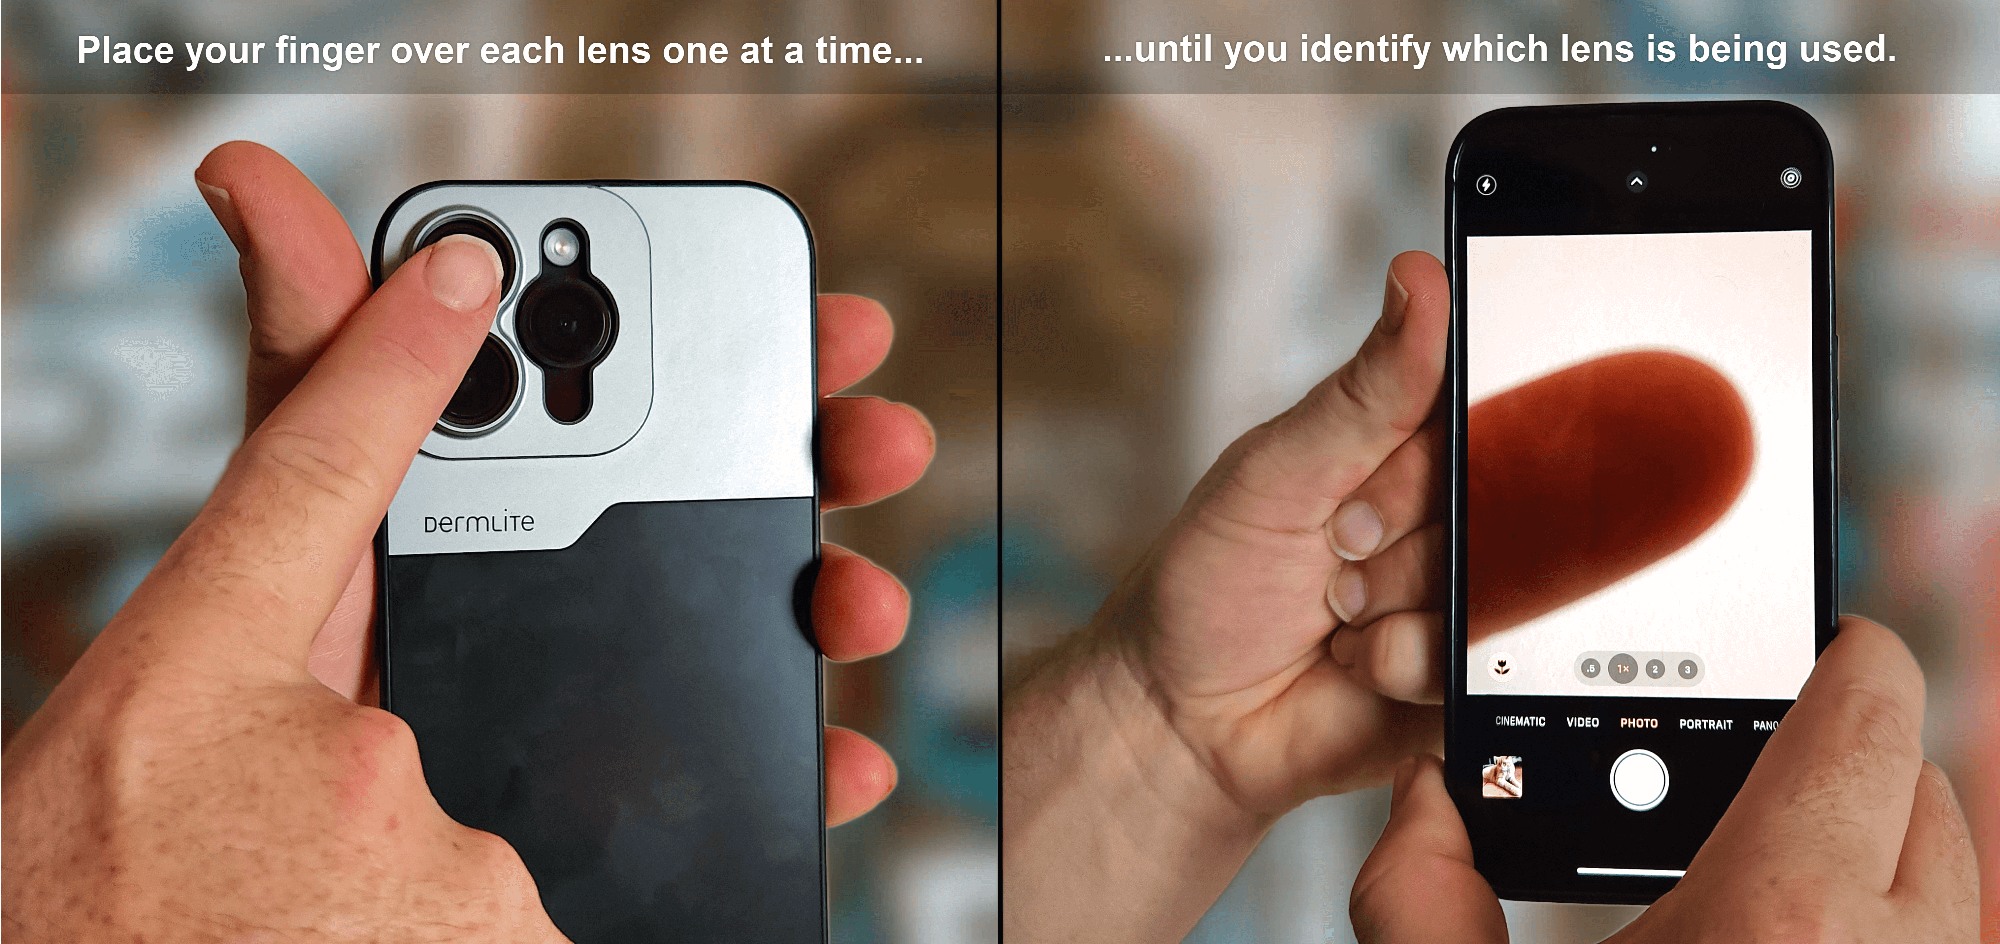
As you move your finger from one lens to another, pay attention to what you’re seeing on your screen. The lens where your finger appears in the center of the screen is the one you’ll be using, and that’s the lens over which you’ll want to connect your MagnetiConnect ring (and dermatoscope).
Second – Use The Correct Camera Mode & Settings
Now that you’ve identified which lens you’ll be using (and you've set up your MagnetiConnect ring and dermatoscope over that lens), then try to take a picture.
Don’t worry if you notice your phone initially switching between cameras as you’re preparing to take the photo. This is normal and is the result of your iPhone calculating the distance/lighting and adjusting accordingly.
However, if this “automatic switching between camera lenses” is erratic and is preventing you from focusing on the lesion you’re trying to photograph, you may need to change your phone settings.

FOR THOSE EXPERIENCING PROBLEMS
Just to be clear, your iPhone switching between lenses is OK as long as it “settles down" and allows you to bring the lesion in focus and take the picture. But if you find that every time you focus in on the lesion and you're about to take the picture, that the iPhone will abruptly switch lenses away from the lens you need to take the image of the patient's lesion, then please read the following:
Even though the settings are slightly different between iPhone models, you'll want to start under Settings > Camera. Recent iPhone models will then have a setting called “Macro Control.” Toggling ON “Macro Control” will allow the user to override the “auto switching” of camera lenses. So if that's the setting you see, you'll want to toggle it ON.
On the other hand, some iPhones instead have an “Auto Macro” setting in this area. When “Auto Macro” is enabled, then the iPhone will automatically choose the lens for you (and in doing so, potentially create the annoying “switching” which can keep you from taking the picture). So if under your camera settings you see an “Auto Macro” option, you'll generally want to toggle it OFF.
What if the light is "too bright"?
Some Dermlite users have found that the camera on their latest iPhone is so sensitive that when they try to take a picture, everything appears “washed out.” That is, the lighting appears “too bright.”
If this is happening to you, try switching to “Portrait” mode within your camera settings. You'll probably need to again determine which lens is going to be used by performing the “finger test” mentioned above. But with “Portrait” mode activated, and your Dermlite placed over the correct camera lens, try again to take your dermoscopy photo. Usually this will work, since “Portrait” mode is more accommodating to changes in light, depth, etc.
Tired of Adjusting Every Time?
If you find that your iPhone is very particular with settings, such that each time you try to take a dermoscopy photo, you're needing to switch camera modes, adjust the “macro control,” etc., then you may want to consider using the “Preserve Settings” option.
Go to Settings>Camera>Preserve Settings.
From there, you can allow your camera to hold on to the “last-used” settings. That is, every time you reopen your camera from that point forward (after enabling “Preserve Settings"), your camera will start with the most recently-used mode and configuration. Doing so will then prevent you from having to “get everything adjusted just right” each and every time you want to take another dermoscopy photo.